
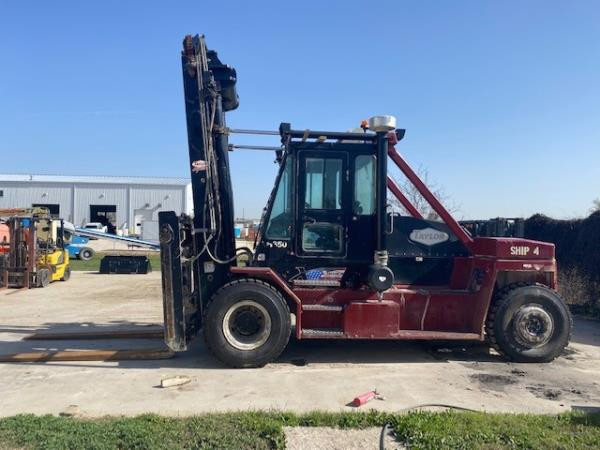
Make: TAYLOR
Model: TXH350L
Year: 2016

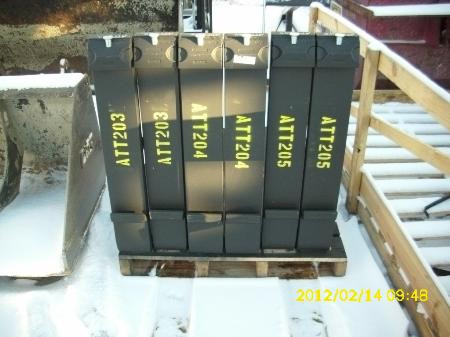
Make: Manitou
Model: 48" Forks
Year: 2012
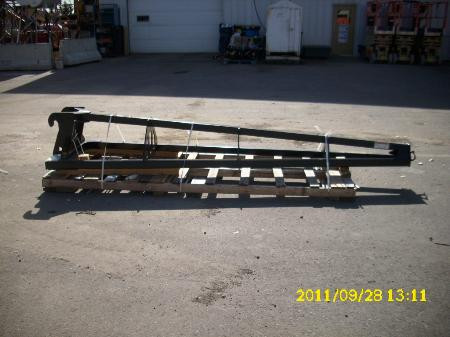
Make: JLG
Model: Truss Jib 12'
Year: 2011
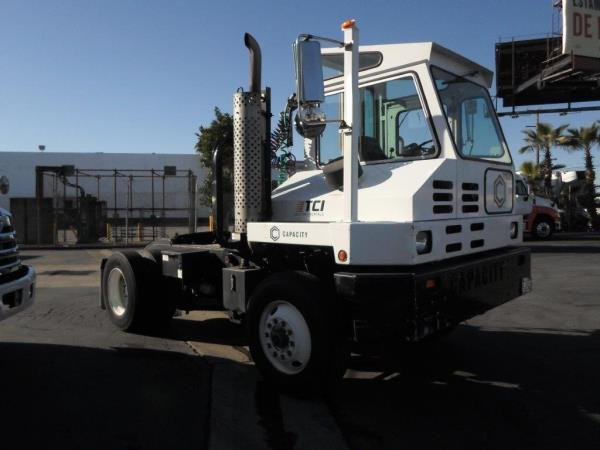
Make: Capacity
Model: TJ5000 DOT
Year: 2010
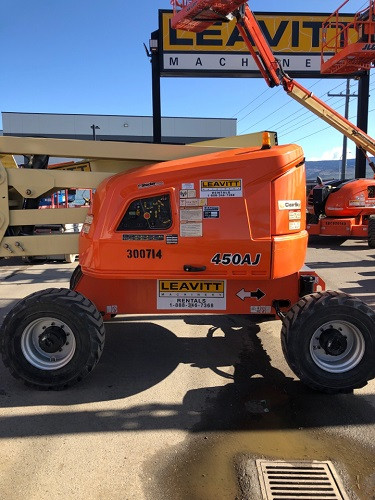
Make: JLG
Model: 450AJ
Year: 2016

Make: FrostFighter
Model: IDF350
Year: 2015
Daewoo Propane Forklifts Phoenix
Change a Propane Tank
Propane fueled forklifts are frequently utilized inside warehouses. The lift truck is designed with the propane tank mounted behind the operator. The tanks, which look a lot like beer kegs, have to be replaced every so often since they have a limited lifespan. Forklift operators must always utilize care when handling propane tanks. Compressed gases are very hazardous, specially because the gas is flammable. Utilize care when replacing and removing propane tank to prevent injury.
1 If there is a need to change the propane tank, the first step is to stop the forklift, then turn off the tank valve. The forklift should be left on until the engine dies. This process burns off the gas in the transfer hose that connects the tank and the engine. Before taking the next steps, put on the proper safety equipment, like for example insulated gloves made of either leather or neoprene. It is really important for you to protect your skin from contact with the compressed gas, that is very cold.
2 Disconnect the hose from the tank and take the holding straps off to remove the tank. When putting in a new tank, tighten the nut to reattach the holding straps and to reconnect the hose at the valve of the tank.
3 Leaks could be checked simply by applying soapy water to the valve and opening it slightly. If there is a leak, it would cause bubbles to foam from around the valve. If this happens, inspect the connection hose at the nut and the valve area. The connecting nut should be re-tightened if you detect any leaks around the area of the valve, and then do the leak checking procedure again. Persistent leaks mean that both the connecting hose and nut must be replaced. Nevertheless, if replacing the hose and nut still does not stop the leak, the tank must be replaced.
4 Open the valve all the way to enable the gas to fill the connecting hose. After that you can start the lift truck and continue working.
- CAT Telehandler Phoenix
There are 5 key steps to making certain that safety is a main concern. The first step is completing a Walk-Around Inspection in order to insure that the unit is visually safe. After that assess... More - Yale High Capacity Forklifts Phoenix
The busiest areas of any warehouse are the receiving and shipping areas. Since the docks are really crowded, trucks are designed to be maneuverable, compact and have great visibility. Operators of lift trucks who are... More - Cat Big Forklifts Phoenix
For years, Cat has been a leader in equipment, machinery, and tools. When your company has material handling needs, Cat is a world renowned, dependable business known for high quality customer service and product support.... More - Jungheinrich End Control Forklifts Phoenix
The lift truck is a very important machinery to help workers raise and move heavy weight supplies and products with speed and efficiency without straining their bodies. The way a company makes use of this... More - Terex Aerial Work Platforms Phoenix
Overview Compared to different models of aerial platform lifts, the telescopic boom offers much better horizontal outreach. They really are the perfect choice for places which have limited access in construction and industrial operation. The... More